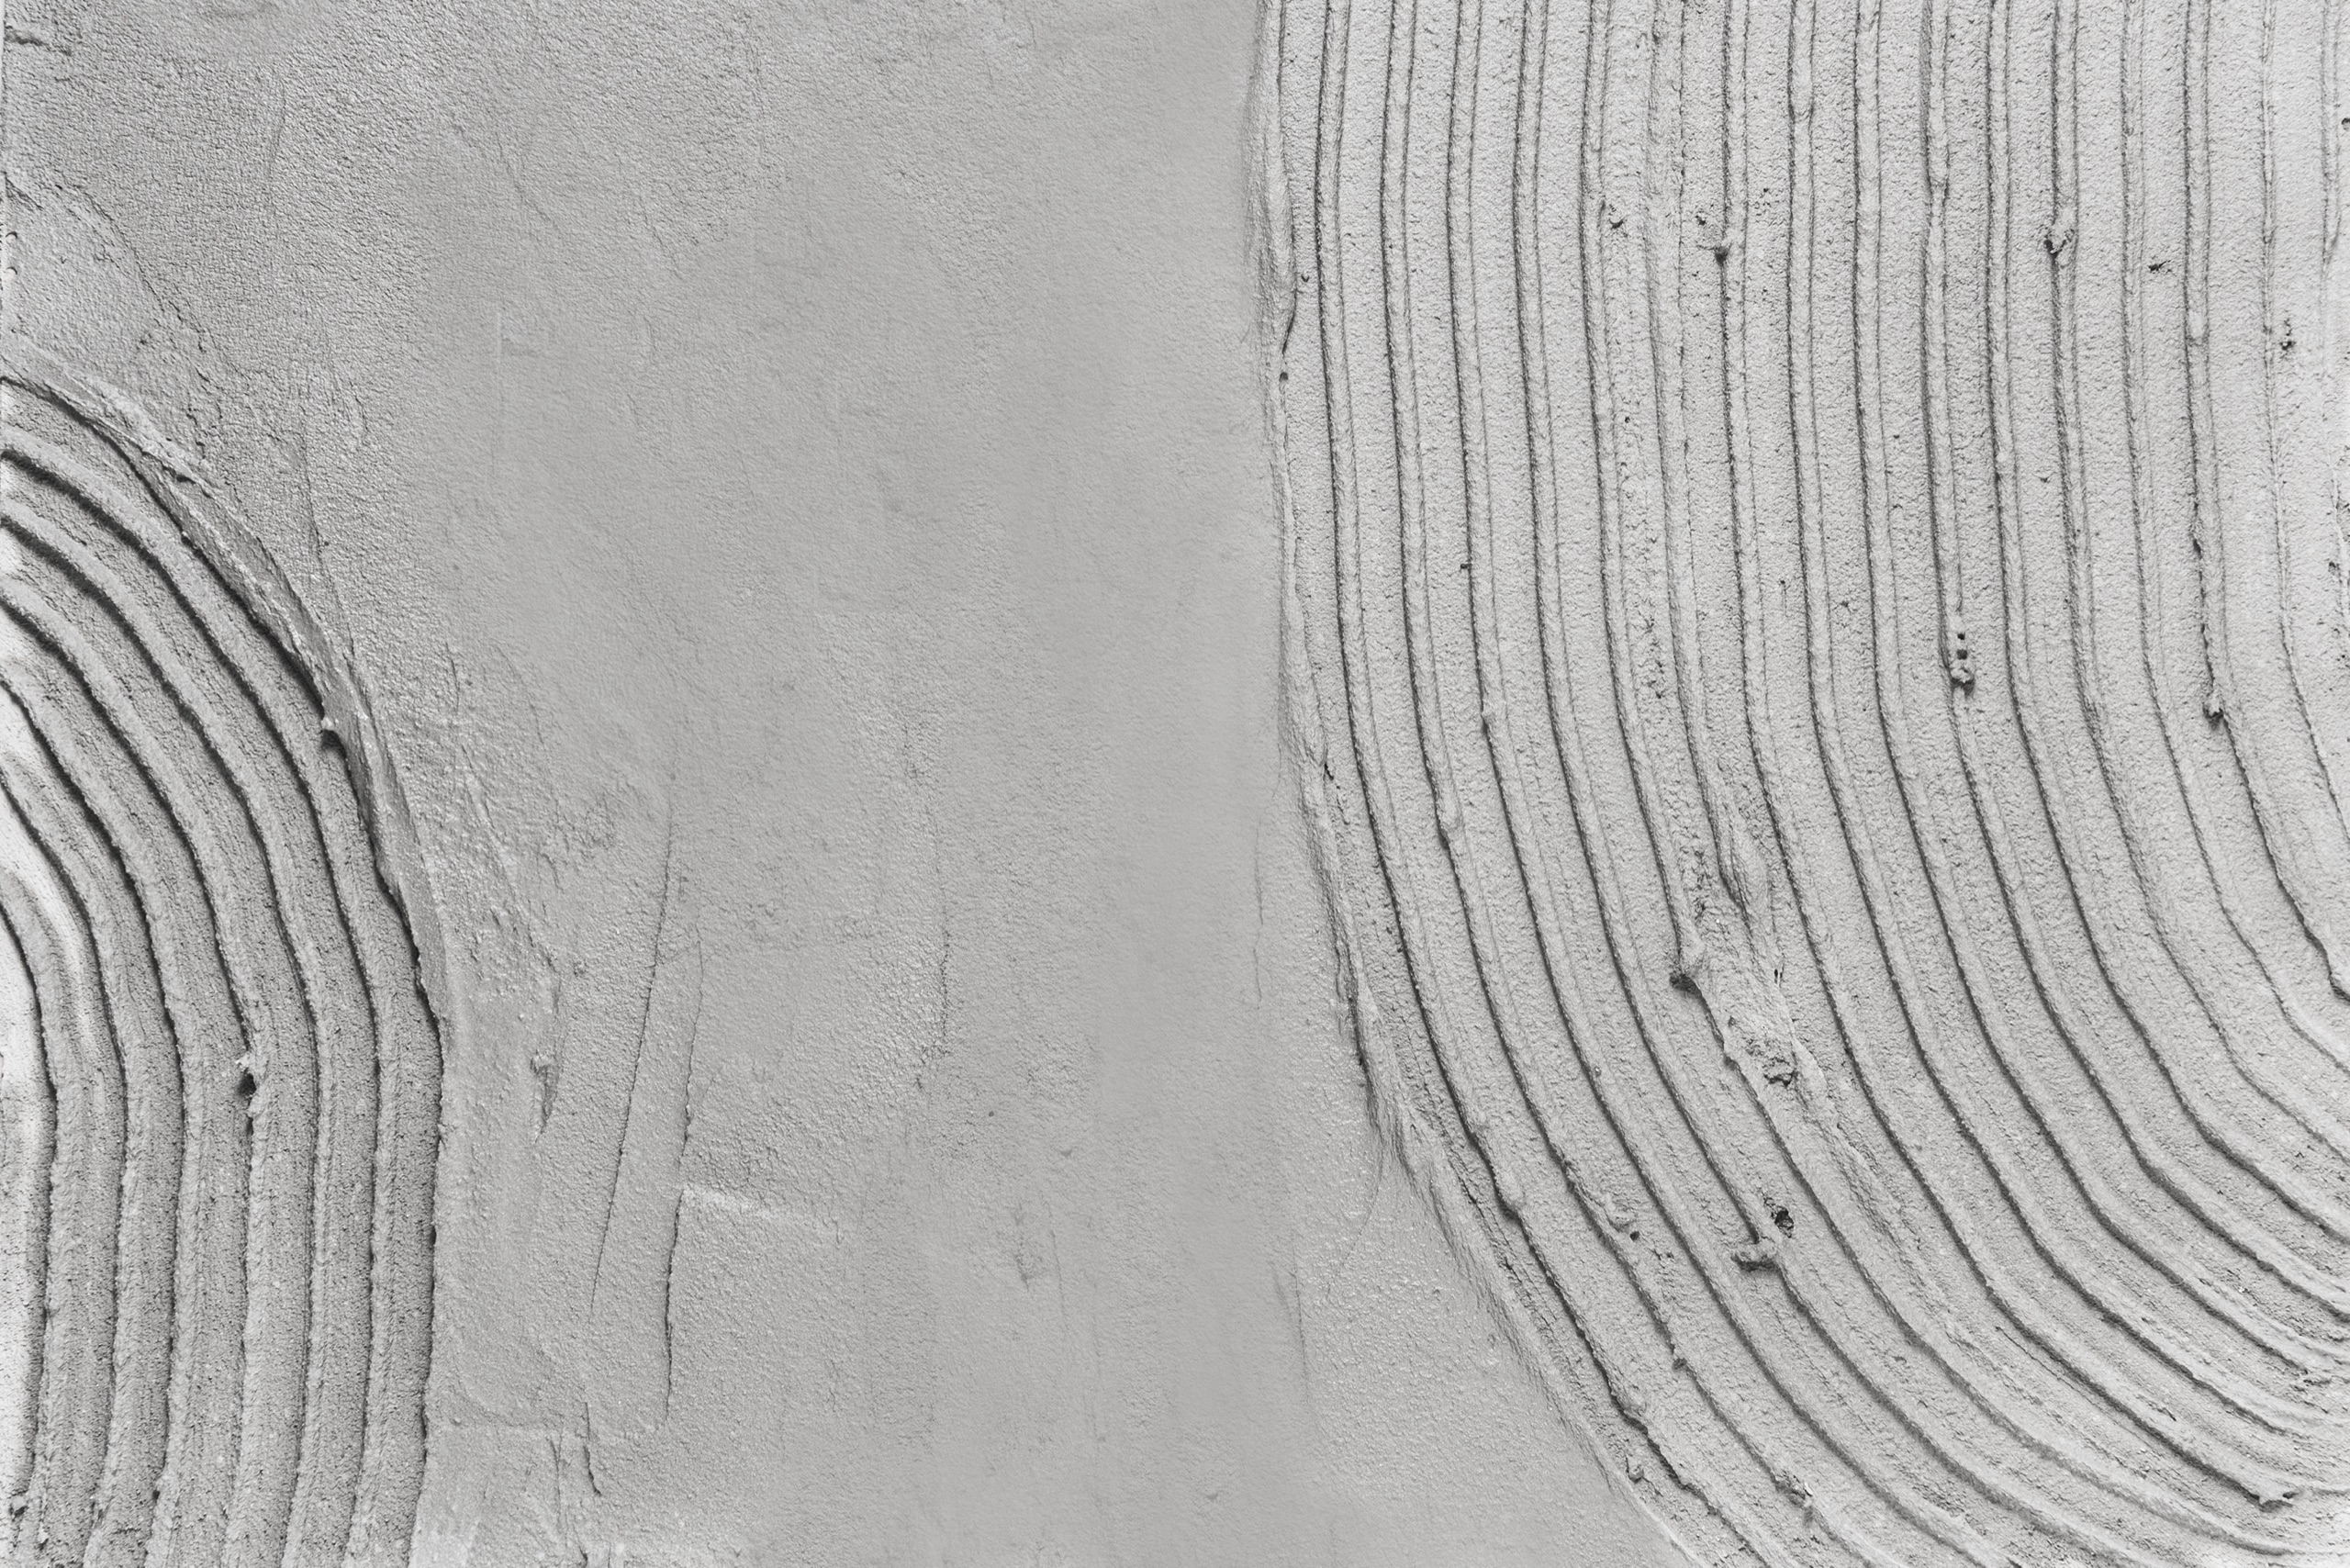
Every resin floor that delaminated traced back to one of three substrate failures: wrong moisture state, wrong surface profile, wrong substrate strength. CSP — Concrete Surface Profile — is the second of the three. The ICRI 310.2R-2013 standard defines ten profile levels (CSP 1 through CSP 10) and maps each to the resin system class it should receive. Under-profile = adhesion risk + early delamination. Over-profile = pinholing + over-consumption. This page is the practical CSP reference: the ten profile levels, the methods that achieve each, the per-system target profile, and how to verify CSP on site before the primer hits the substrate.
The CSP 1–10 scale
ICRI 310.2R-2013 standardised the scale that all major resin manufacturers (Sika, Mapei, MC-Bauchemie, Master Builders) reference in their TDS surface-prep requirements. CSP 1 is near-smooth (acid etched, no aggregate exposure). CSP 10 is heavy hydro-demolition (amplitude over 6 mm, exposed aggregate). The scale is a single number that closes a contractual question — under-spec CSP is a measurable defect.
| CSP | Description | Coating system fit |
|---|---|---|
| 1 | Acid-etched, near-smooth | Sealers, thin films < 3 mil (penetrants, dust-proofers) |
| 2 | Light acid etch / light grinding | Thin films, sealers (3–6 mil) |
| 3 | Light shot blast / grinding | High-build coatings (4–10 mil) — typical epoxy primer base |
| 4 | Light scarification / grinding | Thin polymer overlay 10–40 mil |
| 5 | Medium shot blast | Self-levelling overlays, primers for thick systems |
| 6 | Medium scarification / medium shot blast | Polymer overlays 40–100 mil (≈ 1–2.5 mm) |
| 7 | Heavy abrasive blast / heavy scarification / surface retarder | Polymer overlays / repair > ¼″ (6 mm) — heavy-duty + PU-cement |
| 8 | Scabbling / heavy abrasive blast / HP water jetting | Repair mortars, heavy overlays |
| 9 | Heavy scabbling / hydro-demolition | Structural repair, bonded overlays |
| 10 | Hydro-demolition / heavy mechanical (amplitude > 6 mm) | Aggressive removal (added 2013 revision) |
Method → CSP achieved
The method determines the CSP — not the other way around. An applicator who claims CSP 5 from acid etching is not delivering CSP 5. Each method has a documented profile range, and selection should start from the target CSP, then back-solve to method.
Acid etching
Diluted hydrochloric or phosphoric acid wash. Cheap and historically common, but now largely deprecated for tender-grade floors. Risk: residual chloride, inconsistent profile, environmental disposal cost. Use only for thin-film sealers on residential where no warranty-grade system follows.
Diamond grinding
Rotary planetary head with diamond segments. Produces smoothest profile, ideal for decorative thin systems and polished concrete prep. Floor.DSGN epoxy primers typically target CSP 2–3, which diamond grinding delivers reliably. Dust collection essential for occupied buildings.
Shot blast
Steel shot fired at substrate at controlled velocity; rebounded shot vacuumed and reused. The IL industrial-floor workhorse. Adjustable profile by shot size + velocity + machine speed. Clean dry process, suitable for occupied buildings with proper containment. Heavy shot blast (CSP 6–7) for PU-cement and heavy-duty epoxy quartz.
Scarification
Rotary milling head with carbide-tipped cutter wheels. Aggressive profile suitable for medium-to-heavy polymer overlays. Often used to remove existing coatings while creating new profile in single pass. Dust + impact noise — needs occupied-building coordination.
Needle scaler / light scabbler
Pneumatic needle bundle impacts substrate. Hand-tool scale; used for edges, columns, perimeter detail where machine cannot reach. Aggressive but slow — only practical for small areas. Strong noise + vibration.
Scabbling (mechanical)
Heavy mechanical impact with multiple piston-driven tool bits. Aggressive removal + profile creation in single pass. Used for hydro-cleanup zones, deep repair, structural-level bond requirements. Loud + dusty + slow — last-resort method.
Hydro-demolition (HPWJ)
High-pressure water jetting at 700–2,000 bar. Strips unsound concrete, creates aggressive profile, exposes rebar where needed for structural repair. Standard for bridge-deck and parking-garage repair; rarely used for floor-only projects. Specialised contractor required.
Per-system CSP target
Each resin system class has a documented target CSP range. Hit it. Going lower risks delamination; going higher wastes primer and creates pinholing.
| System | Target CSP | Typical method |
|---|---|---|
| Microtopping decorative 2–3 mm | 2–3 | Diamond grinding |
| Epoxy SL 2–3 mm (light industrial) | 3–4 | Light shot blast |
| Heavy-duty epoxy quartz 4–6 mm | 4–5 | Medium shot blast |
| PU-cement 6–9 mm (kitchen) | 5–7 | Heavy shot blast or scarification |
| PU-cement 9–12 mm (heavy industrial) | 6–7 | Heavy scarification or scabbling |
| MMA fast-cure 2–4 mm | 3–5 | Shot blast (must finish within MMA window) |
| Polished concrete (densifier + polish) | N/A | Initial grinding aggressive, then progressive finer abrasive |
| Repair mortar overlay (EN 1504-3) | 7–9 | Scabbling or hydro-demolition |
How to verify CSP on site
CSP verification uses physical rubber comparator chips — not visual estimation. ICRI publishes the chip set; DeFelsko CSP chips are the IL standard.
- Receive substrate after prep is complete. Walk the surface before primer is applied — once primer hits, you can't go back.
- Place the ICRI chip against the substrate at named grid locations. 3 locations per 1,000 m² minimum, more for critical zones.
- Compare by sight + finger touch. Substrate profile should match the chip's profile texture at each location.
- Photograph the chip held against the substrate. Photo is your audit evidence — without it, CSP claim is unverifiable.
- If substrate is below target CSP — re-prep that zone. Don't accept "close enough" — sub-target CSP is the most common cause of delamination failure under warranty.
- If substrate is above target CSP — log it. Higher CSP is less risky than lower but wastes primer; in some systems (microtopping) over-profile causes visible pinholing through the topcoat.
Common CSP mistakes
- Verbal "we shot-blasted, profile is good". Without ICRI chip + photo, the claim is unenforceable. Reject and request chip verification.
- Acid etch claimed as CSP 5. Acid etch cannot produce CSP 5. Either the method changed (shot blast happened) or the CSP claim is wrong.
- Heavy shot blast for thin decorative microtopping. Over-profile creates pinholing through the topcoat — visible defect in 30 days.
- Light grinding for heavy-duty PU-cement. Under-profile fails pull-off test + delaminates within 12 months under thermal cycling.
- Same CSP across project area with substrate type changes. Old slab + new slab + repair patch all need individual CSP verification.
CSP in the BOQ — tender language
Direct-paste into BOQ Line 1 (mechanical substrate preparation).
Final read
CSP is one of three substrate gates (with moisture and substrate strength) that decide whether a resin floor lasts five years or fifteen. The 1–10 scale is documented, the methods that achieve each level are documented, the per-system targets are documented. The applicator's job is to hit the target; the owner representative's job is to verify with ICRI chips before primer goes down. Specify CSP in the tender, not after the install. Related: substrate moisture remediation · adhesion pull-off test guide · tender BOQ template · warranty types.
Sources
- ICRI Technical Guideline No. 310.2R-2013 — Selecting and Specifying Concrete Surface Preparation.
- DeFelsko CSP rubber comparator chip set + reference photographs.
- Sika Sikafloor substrate preparation guidelines.
- Mapei Mapefloor substrate preparation guidelines.
- MC-Bauchemie MC-DUR substrate preparation specifications.
- Master Builders Solutions Ucrete + Mastertop preparation manuals.
- Floor.DSGN IL contractor field documentation, 50+ floor projects.